 Pin It
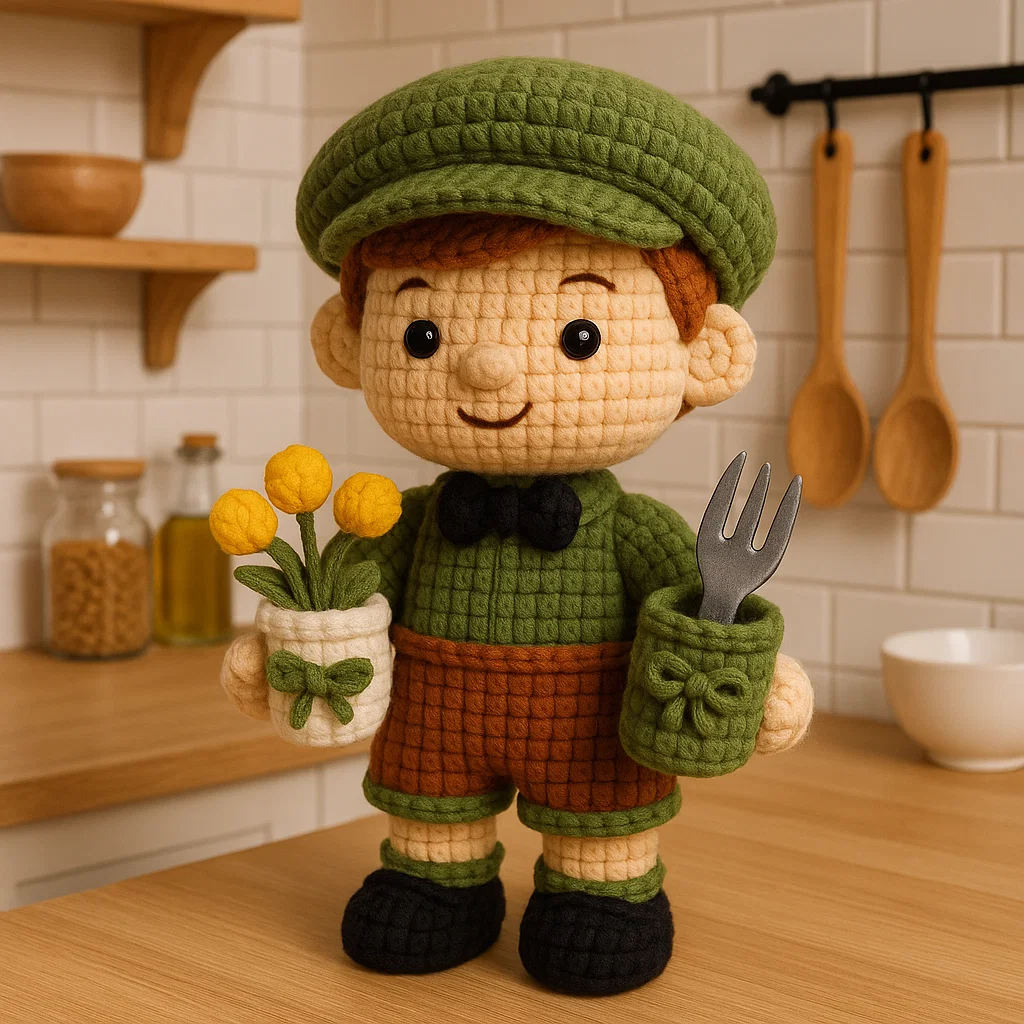
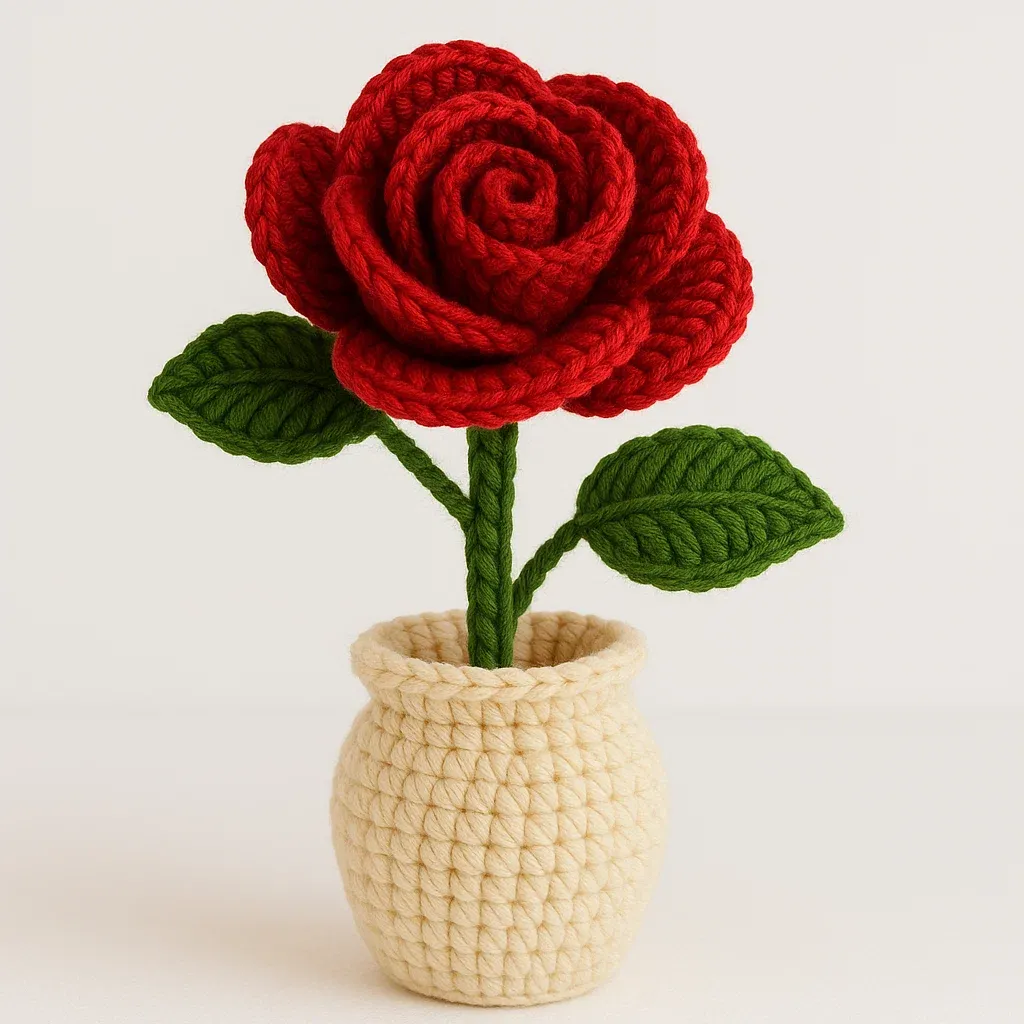
Transform your crochet skills into everlasting beauty with this sophisticated dimensional rose and vase project that brings elegant home décor within reach of intermediate crocheters. This comprehensive pattern teaches advanced three-dimensional construction techniques while creating a gorgeous centerpiece that never wilts or fades. The realistic petal layering and professional finishing methods elevate basic crochet into museum-quality decorative art.
Working through this multi-component project builds invaluable expertise in dimensional construction, realistic flower architecture, and complex assembly that distinguishes advanced crocheters from casual hobbyists. Each element introduces specific challenges from creating naturally curved petals to achieving stable vase construction that supports the finished arrangement. The modular approach allows mastery of individual techniques while building toward a cohesive, impressive final piece that showcases your growing artistic capabilities.
This dimensional rose represents the pinnacle of functional crochet artistry, demonstrating how traditional techniques can create sophisticated home accessories that rival expensive floral arrangements. The combination of technical skill development and stunning visual results creates a project that rewards both the making process and years of proud display. Whether enhancing your own décor or creating an unforgettable gift, this rose delivers both immediate satisfaction and lasting beauty.
I've guided countless students through this pattern as their graduation project from intermediate to advanced crochet, and the transformation in their confidence and capabilities is remarkable. The moment they complete that final petal and see their rose taking its full dimensional form, something fundamental shifts in their understanding of what's possible with yarn and hook. Many return years later to show me entire botanical gardens they've created using techniques mastered through this single, transformative project.
 Pin It
Materials & Tools You'll Need
- Yarn: Medium weight cotton or cotton blend in realistic colors - Requires approximately 225 yards total with 75 yards red for petals, 50 yards green for foliage, and 100 yards cream for the vase. Cotton provides excellent stitch definition essential for realistic flower details while offering the structure necessary for maintaining dimensional shapes over time.
- Crochet Hooks: Size G/6 (4.0mm) and E/4 (3.5mm) - The larger hook creates flowing, natural petal shapes while the smaller hook produces tight, structural elements for stems and assembly points. Having both sizes enables optimal texture variation throughout the project.
- Floral Wire: 12-14 inches for stem support - Optional but highly recommended for professional results. Quality floral wire provides the structural backbone that enables natural positioning and prevents drooping while remaining flexible enough for arrangement adjustments.
- Fine Floral Wire: For leaf support and shaping - Enables realistic leaf positioning and prevents collapse while allowing natural movement that enhances the overall lifelike appearance of the finished piece.
- High-Quality Polyester Fiberfill Stuffing - Essential for vase construction and shape maintenance. Choose premium stuffing that maintains loft without compression while providing the structural support necessary for stable display.
- Weighting Material: Rice or small decorative stones - Provides essential bottom weight for vase stability, preventing tipping while adding professional heft that distinguishes handmade pieces from amateur attempts.
- Sharp Tapestry Needle: Size 16 with large eye - Critical for invisible assembly work and precise attachment of dimensional elements. Quality needles enable clean stitching through multiple fabric layers without damage.
- Stitch Markers: For tracking complex construction phases - Essential for maintaining accuracy through multi-round construction and component assembly where mistakes compound quickly into major problems.
- Steam Blocking Equipment: Iron and pressing cloth - Professional shaping requires controlled steam application to set dimensional curves and enhance the realistic appearance of petals and leaves.
Step-by-Step Instructions
- Master the Rose Center Construction:
- Begin with the tight spiral center that forms the foundation for all subsequent petal layers. This central bud determines the overall rose proportions and must be constructed with consistent tension and careful rolling technique. The spiral formation creates the authentic rose architecture that distinguishes realistic flowers from flat interpretations.
- Create Graduated Petal Layers:
- Work through three distinct petal sizes, each requiring different construction techniques and shaping approaches. Inner petals provide structure and foundation, middle petals create volume and transition, while outer petals establish the full, dramatic silhouette characteristic of fully opened roses. Each layer builds upon previous work while introducing new dimensional challenges.
- Execute Professional Petal Shaping:
- Transform flat crochet work into realistic three-dimensional petals through careful steam application and finger shaping. The technique of working in front and back loops creates natural curves while strategic decreasing produces the tapered petal shape essential for authentic appearance. Proper shaping distinguishes amateur flat flowers from professional dimensional work.
- Construct Realistic Leaf Elements:
- Create believable foliage through careful attention to natural leaf architecture including appropriate sizing, vein work, and positioning. The leaves must complement rather than compete with the rose while providing necessary visual balance and color contrast. Wire integration enables natural positioning that enhances overall realism.
- Build Structural Stem Components:
- Develop a strong, flexible stem that supports the completed rose while enabling natural positioning and arrangement possibilities. Wire integration provides essential structural support while crochet covering creates visual continuity and professional appearance. The stem must balance strength with flexibility for optimal functionality.
- Engineer Stable Vase Construction:
- Create a weighted, proportionally appropriate vase that provides stable support for the completed arrangement while contributing aesthetic value. The curved construction requires careful shaping and dimensional control while the weighted base ensures stability under various display conditions.
- Execute Professional Assembly Integration:
- Combine all components into a cohesive, professionally finished piece through careful attention to attachment points, visual balance, and overall composition. Assembly sequence affects both construction ease and final appearance quality, making strategic planning essential for optimal results.
 Pin It
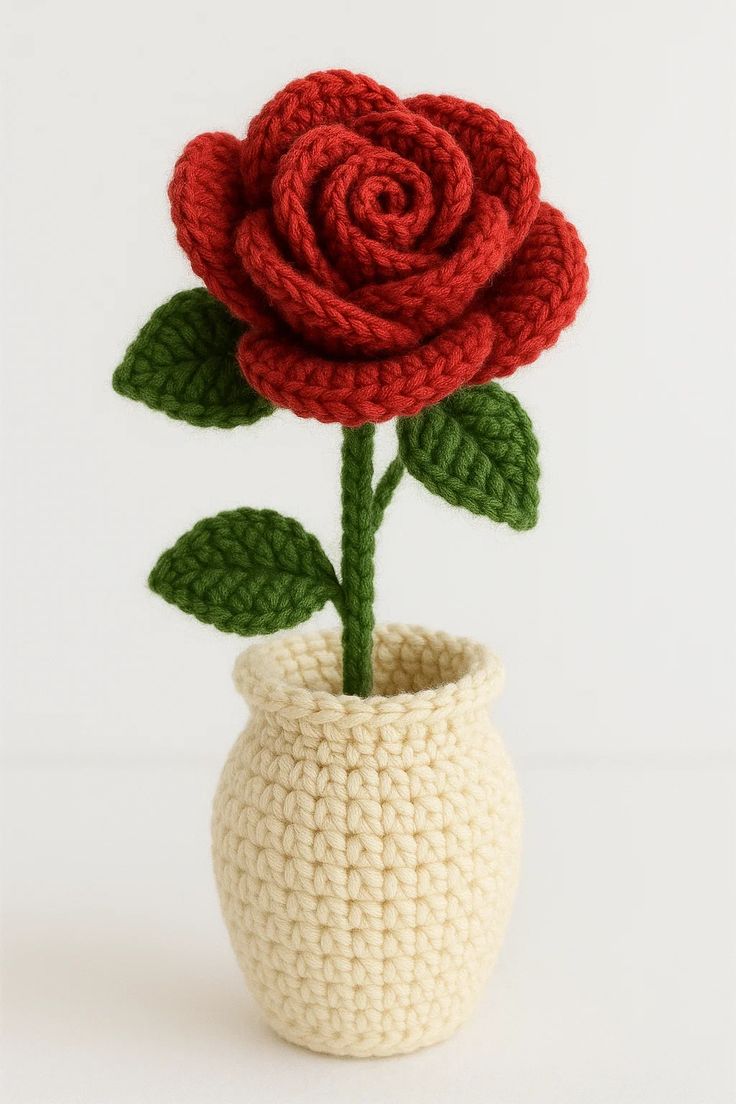
I consistently choose cotton yarn for botanical projects because it holds steam-set shapes beautifully while providing the crisp stitch definition necessary for realistic flower details. My own dimensional rose has been gracing my dining room table for five years, maintaining perfect shape and color while drawing compliments from every visitor. The combination of technical achievement and artistic beauty makes this my most requested pattern from advanced students.
Troubleshooting Advanced Construction Challenges
Multi-layer petal assembly requires careful attention to overlap and spacing to prevent bunching or gaps that compromise the natural flower appearance. Test fit each petal layer before permanent attachment, adjusting positions to ensure smooth transitions and realistic fullness. Poor layer integration immediately signals amateur construction while proper technique creates seamless dimensional flow.
Wire integration challenges even experienced crocheters when attempting to maintain natural flexibility while providing adequate support. Practice wire insertion and covering techniques on sample pieces before working on your actual project. The wire should enhance rather than restrict natural movement while remaining completely invisible in the finished piece.
Vase shaping requires understanding of how increases and decreases affect three-dimensional form. If your vase appears too narrow or wide at any point, adjust the increase/decrease pattern gradually rather than attempting dramatic corrections that create visible distortions. Proper shaping creates smooth curves that complement rather than compete with the featured rose.
Advanced Dimensional Shaping Techniques
Professional flower construction relies heavily on post-completion shaping that transforms flat crochet work into convincing botanical art. Steam application must be controlled and strategic, targeting specific areas for different effects. Light steam opens petals, while heavier application sets dramatic curves that create depth and visual interest.
Color variation within individual petals can enhance realism through subtle shading effects created by working with multiple strand weights or incorporating gradient yarns. These advanced techniques require careful planning but produce stunning results that elevate the finished piece beyond basic color-block construction into sophisticated artistic expression.
Professional Finishing and Presentation Techniques
Museum-quality botanical crochet requires attention to every detail from yarn tail management to final positioning. All attachment points must be invisible while providing secure connections that withstand years of display and occasional handling. Professional finishing separates hobbyist work from pieces worthy of formal display or high-end gift presentation.
Display considerations affect both construction decisions and final arrangement choices. Consider lighting conditions, viewing angles, and surrounding décor when planning colors and final positioning. The goal is creating pieces that enhance their environment while drawing appropriate attention to the technical and artistic achievement they represent.
Building Your Botanical Crochet Expertise
This dimensional rose serves as the foundation for unlimited botanical crochet exploration including entire garden arrangements, seasonal displays, and custom floral designs for specific occasions or décor themes. The techniques mastered here apply directly to countless other flower varieties while building the analytical skills necessary for original botanical design work.
Document your construction process and successful techniques for future reference and adaptation. Understanding what creates realistic flower appearance enables confident experimentation with other botanical subjects while developing the artistic vision that distinguishes true crochet artistry from simple pattern following.
Creating Coordinated Floral Collections
Master this rose construction, and you've unlocked the ability to create comprehensive floral arrangements that rival professional florist work while lasting indefinitely. Different flower varieties use similar dimensional principles while offering opportunities to practice new color schemes and construction challenges that build your botanical crochet vocabulary.
Consider seasonal collections that showcase different flowers appropriate to various times of year, or themed arrangements that coordinate with specific décor styles or color schemes. These expanded projects demonstrate growing expertise while creating substantial decorative impact that justifies the significant time investment required for quality botanical work.
 Pin It
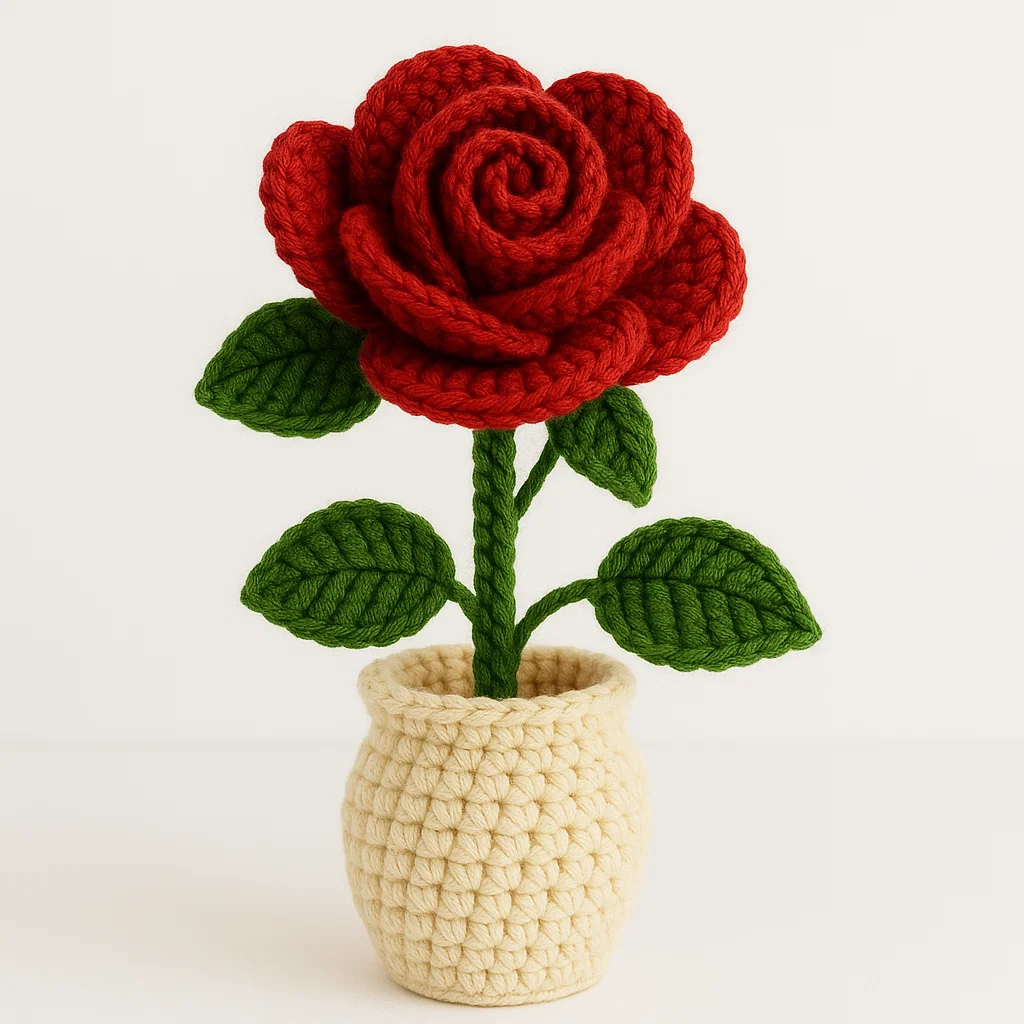
Complete Dimensional Rose with Vase Pattern
Skill Level: Intermediate to Advanced
Finished Size: 12-14 inches total height
Yarn Weight: Medium Weight (4)
Estimated Time: 6-8 hours
Materials List:
Red Yarn: 75 yards (rose petals)
Green Yarn: 50 yards (stem and leaves)
Cream/Beige Yarn: 100 yards (vase)
Hooks: 4mm (G/6) and 3.5mm (E/4)
Wire: 12-14 inches floral stem wire
Fine Wire: For leaf support
Stuffing: Polyester fiberfill
Weight: Rice or small stones
Notions: Yarn needle, stitch markers, steam iron
Pattern Abbreviations:
ch = chain
sc = single crochet
hdc = half double crochet
dc = double crochet
tr = treble crochet
inc = increase (2 sc in one stitch)
dec = decrease (sc2tog)
sl st = slip stitch
st(s) = stitch(es)
rnd = round
rep = repeat
BLO = back loops only
FLO = front loops only
ROSE CONSTRUCTION
Center Bud (Red)
Using 3.5mm hook for tighter stitches:
Foundation: Ch 15
Row 1: Sc in 2nd ch from hook, sc across (14 sc)
Row 2: Ch 1, turn, *2 sc in next st; rep from * across (28 sc)
Row 3: Ch 1, turn, sc across (28 sc)
Form center: Roll tightly from one end, creating spiral center. Secure with stitches.
Inner Petals (Red) - Make 5
Using 4mm hook:
Foundation: Ch 8
Row 1: Sc in 2nd ch from hook, hdc 2, dc 3, hdc 1 (7 sts)
Row 2: Ch 3, turn, working in BLO: hdc 1, dc 3, hdc 2, sc 1
Row 3: Ch 1, turn, working in FLO: sc 1, hdc 2, dc 3, hdc 1
Row 4: Ch 1, turn, sc across (7 sc)
Row 5: Ch 1, turn, sc2tog, sc 3, sc2tog (5 sc)
Shape petal: Gently curve and cup the petal
Middle Petals (Red) - Make 6
Foundation: Ch 10
Row 1: Sc in 2nd ch from hook, hdc 2, dc 4, hdc 2 (9 sts)
Row 2: Ch 3, turn, working in BLO: hdc 2, dc 4, hdc 2, sc 1
Row 3: Ch 1, turn, working in FLO: sc 1, hdc 2, dc 4, hdc 2
Row 4: Ch 1, turn, sc across (9 sc)
Row 5: Ch 1, turn, sc2tog, sc 5, sc2tog (7 sc)
Row 6: Ch 1, turn, sc2tog, sc 3, sc2tog (5 sc)
Outer Petals (Red) - Make 7
Foundation: Ch 12
Row 1: Sc in 2nd ch from hook, hdc 3, dc 5, hdc 2 (11 sts)
Row 2: Ch 3, turn, working in BLO: hdc 2, dc 5, hdc 3, sc 1
Row 3: Ch 1, turn, working in FLO: sc 1, hdc 3, dc 5, hdc 2
Row 4: Ch 1, turn, sc across (11 sts)
Row 5: Ch 1, turn, sc2tog, sc 7, sc2tog (9 sc)
Row 6: Ch 1, turn, sc2tog, sc 5, sc2tog (7 sc)
Row 7: Ch 1, turn, sc2tog, sc 3, sc2tog (5 sc)
ROSE ASSEMBLY
Step 1: Attach Inner Petals
• Position around center: Overlap slightly, spacing evenly
• Sew base: Secure each petal to center base
• Shape: Curve petals outward naturally
Step 2: Add Middle Petals
• Stagger placement: Position between inner petals
• Overlap edges: Create natural layered look
• Secure firmly: Sew through all layers at base
Step 3: Attach Outer Petals
• Continue staggering: Place between middle petals
• Curve outward: Create full, open rose shape
• Final securing: Sew all layers together at base
LEAVES (Green) - Make 3
Large Leaf
Using 4mm hook:
Foundation: Ch 12
Row 1: Sc in 2nd ch from hook, hdc 1, dc 7, hdc 1, 3 sc in last ch
Working along other side of foundation:
hdc 1, dc 7, hdc 1, sc 1, sl st to first sc
Leaf texture:
Working in rounds around leaf edge:
Rnd 1: Ch 1, *sc 1, ch 1; rep from * around
Rnd 2: Sl st in each st and ch-space around
Medium Leaves - Make 2
Foundation: Ch 10
Follow same pattern as large leaf, reducing stitches proportionally
Leaf Veins
Using yarn needle and green yarn:
• Embroider center vein down middle of each leaf
• Add 2-3 side veins branching from center
STEM (Green)
Basic Stem
Using 3.5mm hook for firmness:
Foundation: Ch 4, join to form ring
Rnds 1-40: Sc around (4 sc per round)
With wire insert:
• Insert wire: Before closing, insert floral wire through center
• Secure wire: Leave 1 inch at top, 2 inches at bottom
• Continue crocheting: Work around wire for strength
Stem Attachment
• Thread top wire: Through base of completed rose
• Twist to secure: Wrap wire around rose base
• Cover join: Use green yarn to hide wire connection
VASE (Cream/Beige)
Bottom
Using 4mm hook:
Rnd 1: Magic ring, 6 sc (6)
Rnd 2: Inc in each st around (12)
Rnd 3: *Sc 1, inc; rep from * around (18)
Rnd 4: *Sc 2, inc; rep from * around (24)
Rnd 5: *Sc 3, inc; rep from * around (30)
Sides
Rnd 6: Sc in BLO around (30)
Rnds 7-12: Sc around (30) - 6 rounds
Shape Curve
Rnd 13: *Sc 4, inc; rep from * around (36)
Rnds 14-16: Sc around (36) - 3 rounds
Rnd 17: *Sc 5, inc; rep from * around (42)
Rnds 18-20: Sc around (42) - 3 rounds
Neck
Rnd 21: *Sc 5, dec; rep from * around (36)
Rnd 22: *Sc 4, dec; rep from * around (30)
Rnds 23-25: Sc around (30) - 3 rounds
Rim
Rnd 26: *Sc 1, inc; rep from * around (45)
Rnd 27: Sc around (45)
Rnd 28: *Sc 1, hdc 1, dc 1, hdc 1, sc 1; rep from * around for decorative edge
ASSEMBLY AND FINISHING
Step 1: Complete Rose
• Final shaping: Adjust all petals for natural look
• Secure all layers: Check that base is firmly attached
• Steam shape: Lightly steam to set petal curves
Step 2: Attach Leaves
• Position on stem: Space leaves naturally along stem
• Secure with wire: If using wire, twist around stem
• Cover with yarn: Wrap green yarn over wire connections
Step 3: Prepare Vase
• Stuff firmly: Fill bottom 1/3 with rice or small stones for weight
• Add fiberfill: Stuff remainder for shape and stem support
• Test stability: Ensure vase won't tip over
Step 4: Final Assembly
• Insert stem: Push through vase stuffing to bottom
• Adjust height: Position rose at desired level
• Secure stem: Anchor stem in weighted bottom
FINISHING TECHNIQUES
Petal Shaping
• Steam carefully: Use steam to set natural curves
• Finger shape: While slightly damp, curve petals naturally
• Layer adjustment: Ensure good spacing between petal layers
Leaf Positioning
• Natural angles: Leaves should face different directions
• Varying heights: Stagger leaf positions on stem
• Secure connections: All attachments should be invisible
Vase Stability
• Weight distribution: Bottom-heavy for stability
• Stem anchoring: Stem should reach vase bottom
• Final adjustments: Test and adjust as needed
CARE INSTRUCTIONS
- Dusting: Use soft brush or gentle vacuum
- Storage: Keep in dry location, avoid crushing
- Reshaping: Gentle steam can refresh appearance
- Cleaning: Spot clean only with mild soap if needed
VARIATIONS
Color Options
• Pink rose: Soft romantic look
• White rose: Classic elegance
• Yellow rose: Bright and cheerful
• Multi-colored: Gradient effect with color changes
Size Variations
• Miniature: Reduce all components by 25%
• Large: Increase petal counts and sizes
• Bouquet: Make multiple roses for arrangement
Vase Alternatives
• Cylinder vase: Straight sides, no curve
• Wide bowl: Shorter, broader base
• Decorative patterns: Add texture stitches to vase
This dimensional rose with vase represents the pinnacle of functional crochet artistry, combining advanced technical skills with sophisticated aesthetic vision to create permanent botanical beauty. The satisfaction of mastering these complex techniques while producing museum-quality decorative art creates momentum for exploring unlimited botanical possibilities. Take time to perfect each dimensional element - these advanced skills open doors to creating entire gardens of everlasting beauty that showcase your artistic evolution.
Frequently Asked Questions
- → What makes these roses look so realistic compared to other crochet flowers?
- The realism comes from the advanced dimensional petal construction technique that creates natural curves and layers. Each petal is individually shaped and positioned, with wire inserts that allow for natural positioning. The gradient shading technique uses multiple yarn colors blended seamlessly, and the spiral center construction mimics how real rose petals unfurl from the inside out.
- → What skill level is required for this advanced pattern?
- This is a challenging advanced pattern requiring mastery of complex shaping, color work, and wire insertion techniques. You should be very comfortable with advanced amigurumi, have experience with dimensional crochet, and be patient with intricate detail work. The pattern includes extensive photo tutorials, but expect a learning curve even for experienced crocheters.
- → What special materials do I need beyond yarn?
- You'll need floral wire (18-gauge for stems, 24-gauge for petals), wire cutters, needle-nose pliers, and fiberfill stuffing. For the vase, you'll need a lightweight wire frame or plastic bottle for structure. The yarn should be worsted weight cotton or cotton blend for best results. Green floral tape is optional but helpful for realistic stems.
- → How do I achieve the gradient color effect on the petals?
- The gradient effect uses a color-blending technique where you gradually transition between shades within each petal. This involves working with multiple colors simultaneously and strategic color changes mid-row. The pattern includes detailed color charts showing exactly where to change colors for the most natural effect, from deep centers to lighter petal edges.
- → How long does it take to complete the entire arrangement?
- Expect 15-20 hours total for a complete arrangement with 3-4 roses and the vase. Each rose takes 4-6 hours depending on complexity (buds are faster, full blooms take longer), and the vase requires 3-4 hours. The time investment reflects the intricate detail work, but the results are truly spectacular and worth every minute.
- → Can I customize the colors and arrangement style?
- Absolutely! The pattern includes guidance for creating various rose colors from classic red and pink to unique blues and purples. You can adjust the number of roses, create different bloom stages, and even modify the vase design. The techniques transfer beautifully to other flower types once you master the dimensional petal construction method.